|
INTRODUCTION (Stop me if you've heard this one): I am an arcade child of the 80s, but just barely. Born in the early 80s, I don't have memories of the earlier games being swarmed in the arcades, but I paid my dues in quarters on the same games, just a few years later. Ever since my first visit to my local arcades, I knew I wanted one of these machines for my own. Until recently, I didn't have the money, space, or the means to have my own. I found this really awesome software project while I was still in High School called M.A.M.E.(Multiple Arcade Machine Emulator). This program was a piece of computer software that would essentially mimic the original game hardware and run copied versions of the REAL GAMES. I got really excited about the idea of my own arcade;however, being a teenager, I got distracted with other things and it faded from my short attention span so I never really got to do anything with the idea. Fast forward to 2005. I am now nearing my degree in Computer Science and I have gained quite a vast knowledge of computers, programming, and general electronics. I found this M.A.M.E. program again while taking a stroll down memory lane (trying to find old cartoons and video games from days past). I dedicated myself to building myself an arcade cabinet and that is the focus of this webpage. | |
| 08-JAN-2006 |
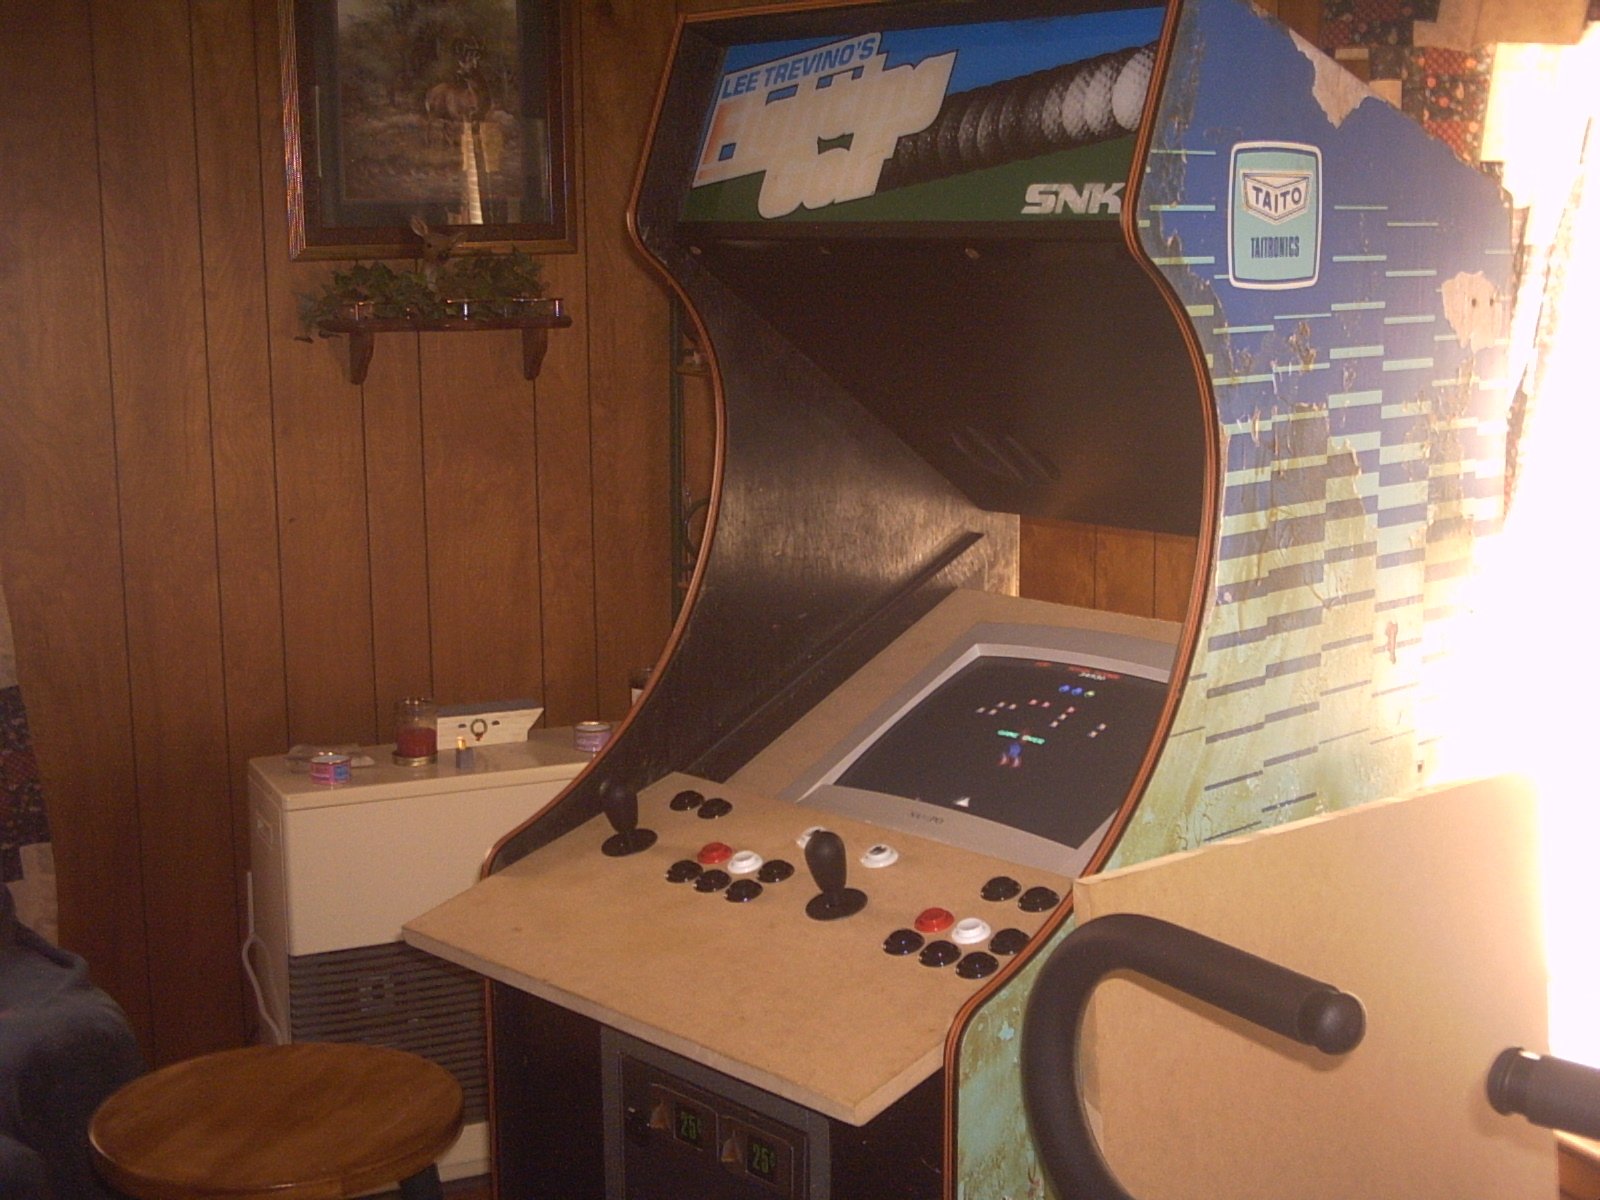
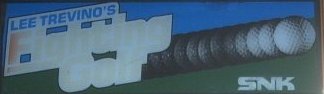
This is my first update, but I have already been working on this cabinet for a week or so. I didn't have much luck on buying a used cabinet in working condition or even one just structurally sound. In fact, the only cabinet I could find that anyone was willing to part with was in rather poor condition. A local amusements company had an old Taito cabinet. It had been sitting outside in the rain with no covering for at least 6 months. It had no back door, monitor, or glass; however, it had plenty of leaves and bugs. I have no idea how it began its life, but it had been through several conversions. The most recent game was Lee Trevino's Fighting Golf.
 I was so eager to get something started that I didn't much care the condition. It looked upright and somewhat intact so I got help from my uncle and brought my wounded cabinet home. I cleaned out the leaves, removed the old wiring, the broken jamma board for the golf game and let the game dry out for a few days. I don't have any pictures from the past week, but from this point forward, I should have pictures for the different steps of the rebuild. |
|
|
|
| 09-JAN-2006 |
While my cabinet was drying out, I took the old control panel off the cabinet. I needed to do a "test run" on the arcade controls to PC interface. I had already taken one of my old keyboards apart and figured out how to close the circuits going into the encoder to make the encoder do what I wanted it to do. The keyboards used Keytronics encoders with each half of the circuits on different layers of plastic material with thin, flat copper wire strands and "hotspots" where the wire was exposed. When these "hotspots" were pressed together across a point between the two plastic layers by pushing keyboard keys, the circuit was closed. I just cut the plastic layers off and used the solder points on the back of the encoder for my rewiring purposes.
  The pictures are horrible, but my webcam was all I had at the time. I wasn't terribly confident of my soldering skills when working on the encoder, so after soldering all the wires, I used a little bit of hot glue to keep the wires in place and from bending and flexing. This seems to have worked out really well since the wires near the solder points don't flex any visible amount. After a bit of time and some mapping of wires, I was able to get the encoder working with the old control panel. All of the buttons except the player 2 start button worked. The joystick worked, but was very worn out and not very responsive. Upon later examination of the cabinet, I noticed that the coin mechanism from the cabinet wasn't very complex. It just had two simple switches at the bottom that were tripped by a coin as it fell out of the mechanism. I knew quarters would fall down the slot correctly, and the other switches (on the buttons and the joystick) seemed to work, so I unscrewed the coin door and took it for testing too. IT WORKED! I was able to wire the coin door mech to my hacked keyboard encoder too and instantly I had the fully working brains of an arcade cabinet. |
|
|
|
| 14-JAN-2006 |
Since the last update, the cabinet has dried out and I've gotten most of the structural rework done on the cabinet. I convinced my dad and uncle to help me with the woodworking steps that needed to be done. I bought a sheet of MDF to replace the back, built some monitor bracing, and built a new control panel.
We rebolted the original monitor bracing to an angle which would better fit a 19 inch CRT instead of the original arcade monitor. We added a couple more boards to the brace to help support the old cabinet walls. We cut two sections of MDF to the full width of the interior of the cabinet (from wall to wall) and the middle was removed to fit snug with the monitor. The monitor fit into the cutouts like a sleeve or a speaker for a speakerbox. This took a little more work and material, but I can easily just grab the monitor and side it out or up as I need. It makes maintenance and cleaning trivial. Not to mention the monitor is an extremely tight fit and perfectly aligned. 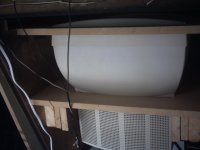 |
|
|
|
| 16-JAN-2006 |
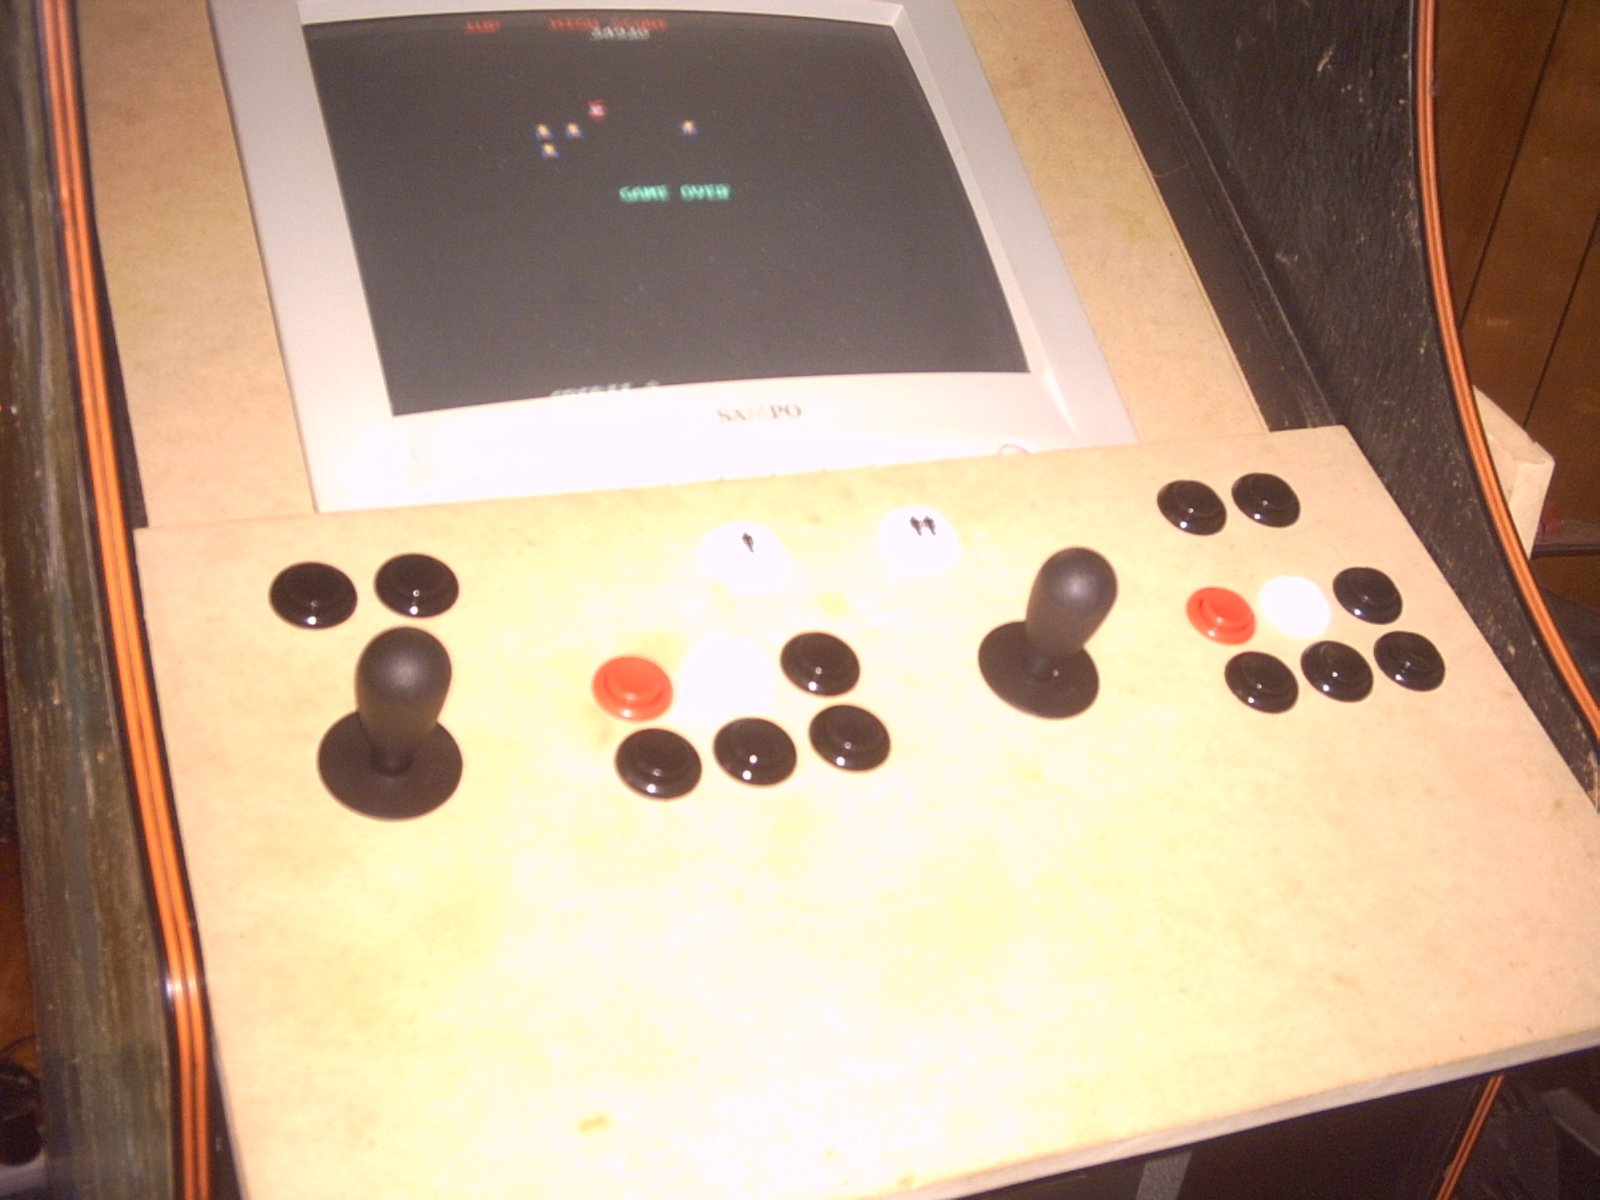
The cabinet is mostly assembled at this point, but it doesn't have any paint or fancy dress. I received my new buttons and joysticks today. I also got a new encoder I ordered from Ultimarc. I wasn't satisfied with the keyboard hack. I kept running into issues with keys not responding and the number of simultaneous keys I could hit. With some research I also found that there was a potential for more errors with the keyboard hack method. The Ultimarc encoder (I-Pac 2) looks like it is supposed to bypass all those issues.
Here are some images from today's work:
|
|
|
|
| 27-JAN-2006 |
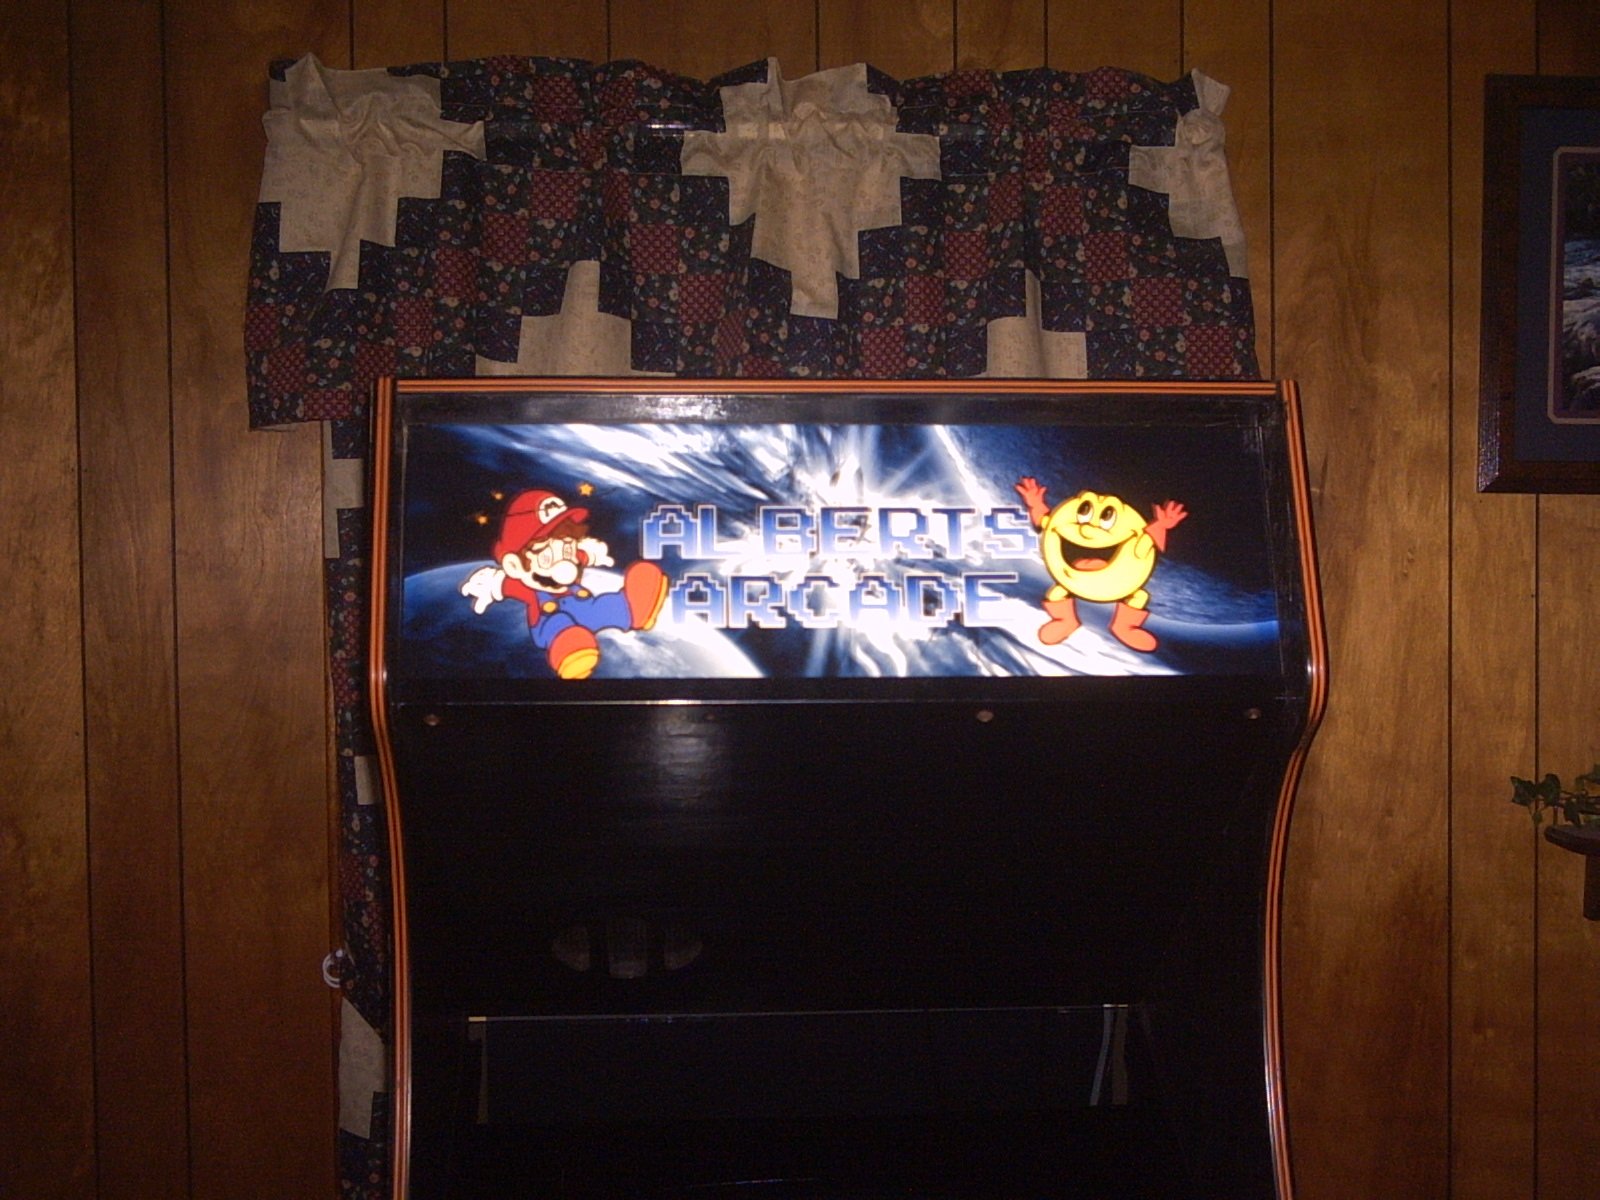
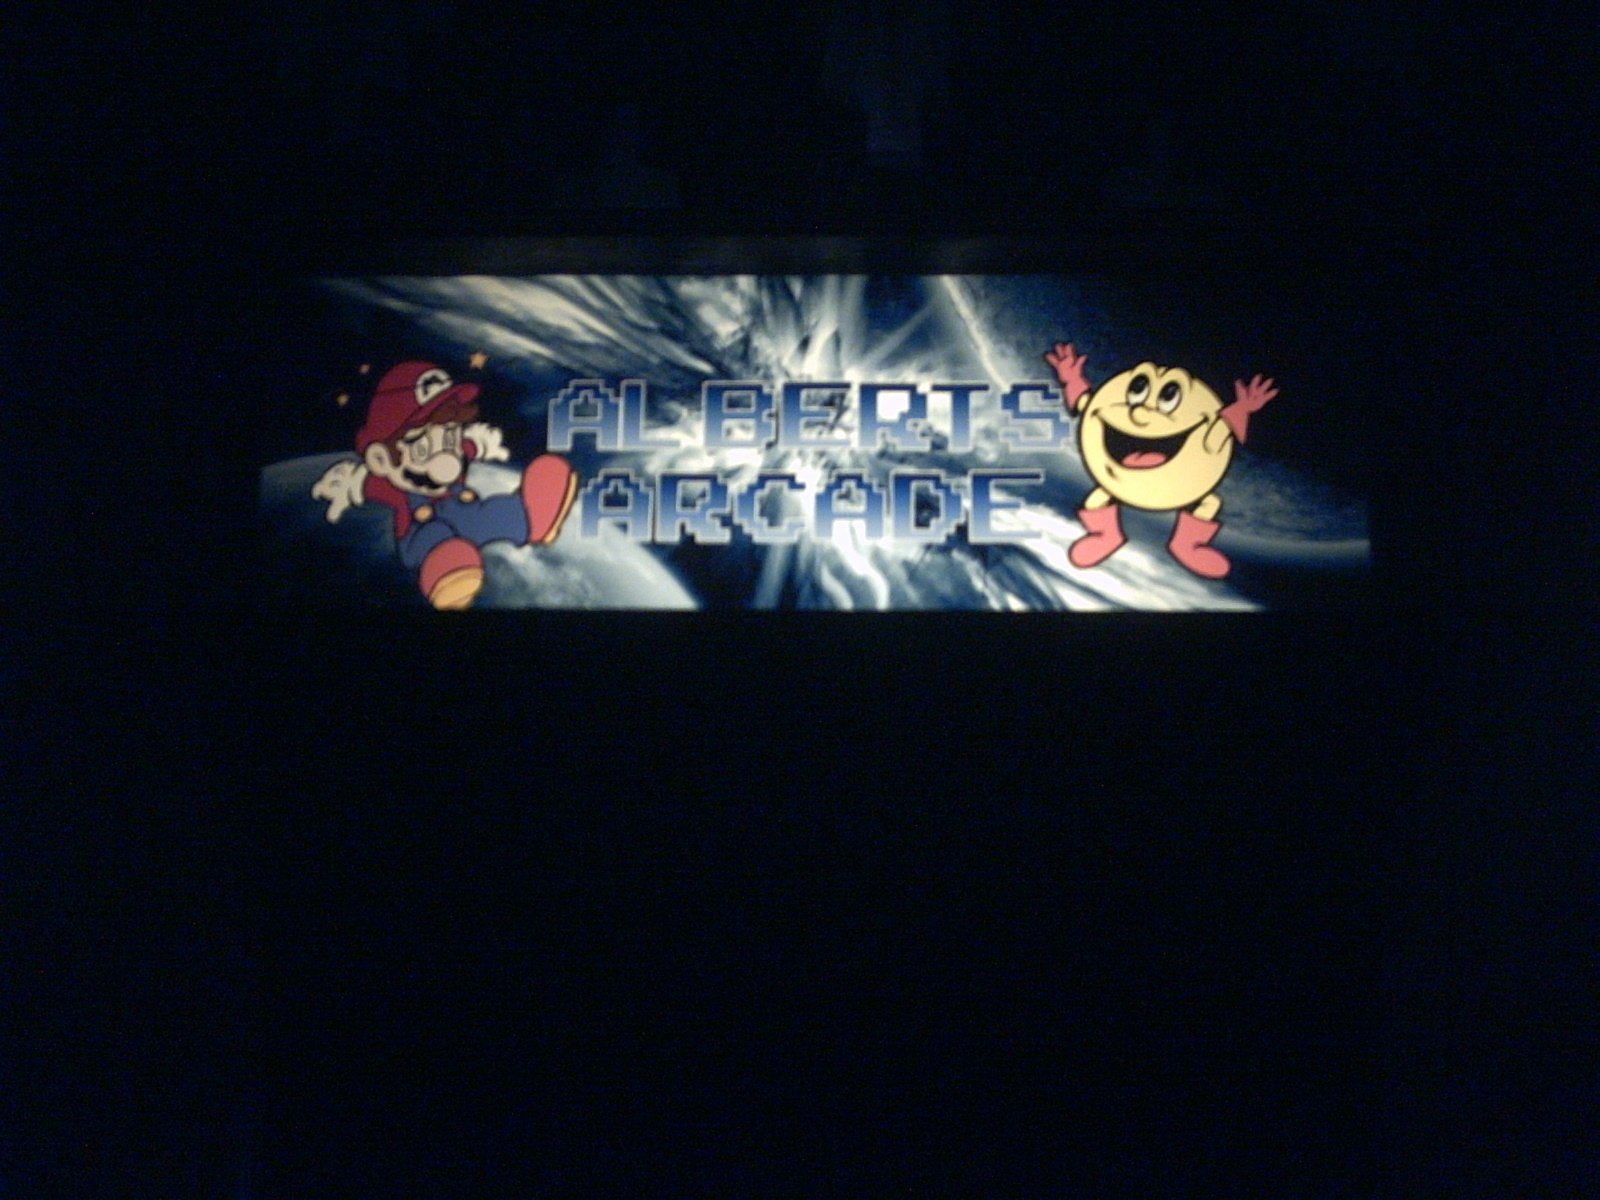
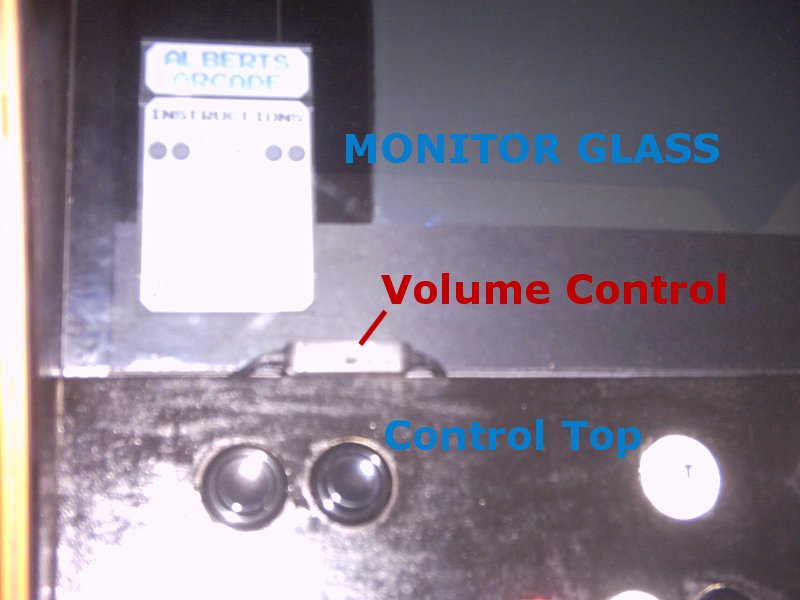
I've gotten quite a bit more done to the cabinet since the last update, but I haven't had much time to document it. I've painted the control top, the monitor face, the mdf frame for the monitor. I also repainted the face and doors of the cabinet. My custom marquee came today. I decided to make my own from some available graphics instead of buying a reproduction. The result was absolutely amazing thanks to MameMarquees. It printed better than I could have hoped. The black parts of the marquee block light just as they are supposed to and the brights are bright with no washout. If I have any more art printed, this is the place I'm going.  I used the very popular graphic Cosmic Frostbite as the background and rescaled it to 300dpi at 23 inches by 8 inches and used the Arcade Classics font for the text. Add some vectorized game characters and The End. Again, I love how it turned out. The light fades in and out with the varied layers of black in the background and the gradient I used to color the text. I got all the wiring done and discovered that the original speaker in the cabinet still worked so I connected it. The original marquee backlight wasn't so fortunate. I got a replacement from Lowes for 9 bucks. In addition, I had a piece of smoked glass cut to cover the monitor and some plexi for the marquee. I also made a temporary instructions card. I will try to explain more of the details in the future as I get time. I still need to rig some sort of external volume control and finish the sides of the cabinet. I can't find a way to get that 1980s industrial glue off the sides without breaking my back and my sander. I will try to update more as I get time. Here are the images so far: |
|
|
|
| 01-FEB-2006 |
Today, I received my volume control device. I was looking at plans on building a volume control with a potentiometer, but I found something on Amazon.com that peaked my interest a bit more.
I found an inline volume-control device by Labtec.
Labtec AC14REGN.
It isn't quite as elegant as a custom wired and mounted potentiometer with a new knob, but it matches my cabinet and took less than a minute to install so it will do for now. Another note: the device doesn't seem to affect the quality of sound at all.
|
|
Author: Albert Holtsclaw Contact:  Copyright © 2006 Albert Holtsclaw. All Rights Reserved. M.A.M.E., MAMEMARQUEES, ULTIMARC, LOWES, MARIO, PACMAN, SNK, KEYTRONICS, TAITO, LEE TREVINO'S FIGHTING GOLF, and last but not limited to COSMIC FROSTBITE are all copyright of their respective owners. |
|